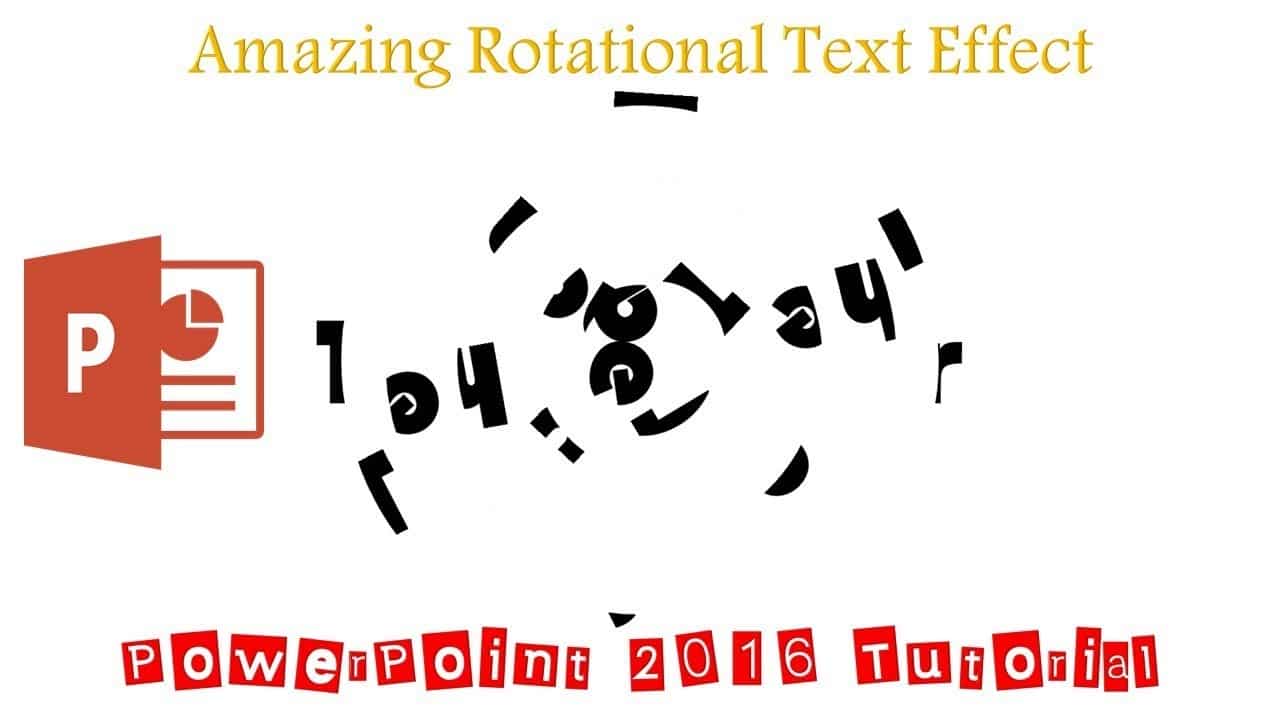
In today’s tutorial, we’ll explore how to create a captivating Text Spin Animation in PowerPoint that can breathe life into your presentations. But before we dive into the nitty-gritty details, let’s watch the video tutorial below to get a visual grasp of what we’re about to accomplish.
Watch Amazing Text Spin Animation in PowerPoint Tutorial
Now, that was intriguing, wasn’t it? But let’s break it down step by step to understand how this captivating PowerPoint trick is achieved.
Step 1: Starting a New Presentation
Begin by opening PowerPoint and starting a new presentation. You can follow along with the video tutorial to make sure you’re on the right track.
Step 2: Creating the Text
In this step, we use the WordArt feature to add our desired text. The video tutorial demonstrates how to select a stylish WordArt style, type your text, and customize the font.
Step 3: Drawing the Ovals
To create the mesmerizing rotational effect, we introduce ovals into our presentation. The video guide explains how to draw and position these ovals to set the stage for our text animation.
Step 4: Aligning the Ovals
Proper alignment is key to achieving the desired effect. You’ll learn how to align the ovals to the center of the slide, ensuring a symmetrical presentation.
Step 5: Adjusting Oval Sizes
The tutorial shows you how to adjust the size and position of each oval to match the text precisely. You’ll use keyboard shortcuts and mouse clicks to make these adjustments.
Step 6: Removing Unnecessary Ovals
Unwanted extras can clutter your presentation. The video will guide you on how to remove any extra ovals, ensuring a clean and sleek design.
Step 7: Duplicating Ovals
You’ll witness how to make copies of the ovals and create a group of them. This group will play a significant role in our animation.
Step 8: Fragmenting Shapes
Understanding how to separate the text from the rest of the shapes is vital for customization. The video illustrates how to use the “Fragment” command to achieve this.
Step 9: Coloring the Text
You’ll be shown how to choose a color for your text, maintaining a cohesive look by matching the outline and fill colors.
Step 10: Removing Unwanted Text Parts
Certain parts of the text may need to be removed. The video tutorial highlights how to eliminate extraneous text elements.
Step 11: Grouping Text and Ovals
This step is crucial for the animation. The tutorial carefully demonstrates how to group the various parts of the text with the ovals, ensuring smooth animation.
Step 12: Applying Animation
The heart of our tutorial lies in applying animation. You’ll follow along as the video guides you through adding the “Spin” effect, setting durations, and ensuring seamless transitions.
Step 13: Hiding Ovals
Learn how to hide the ovals for a polished final look, as shown in the video tutorial.
Step 14: Preview and Final Touches
Before sharing your masterpiece, preview the animation to ensure it aligns with your vision. The video tutorial provides insights into fine-tuning and customizing your rotational text effect.
Congratulations! You’ve now gained an understanding of the steps involved in creating this captivating Text Spin Animation in PowerPoint. But remember, seeing is believing, and the video tutorial offers a comprehensive visual representation of each step. If you want to take your presentation skills to the next level, watch the tutorial, and follow along to create your rotational text effect.
As you’ve seen in the video, this creative PowerPoint trick can add a unique and engaging dimension to your presentations, leaving your audience in awe. So, why wait? Give it a try, and let your creativity shine!
To watch the tutorial and embark on this exciting journey, click the video above. If you have any questions or feedback, feel free to leave a comment below the video. Your insights and experiences are invaluable.
Thank you for joining us on “The Teacher.” Stay tuned for more exciting tutorials, and don’t forget to subscribe to our channel for updates on upcoming educational videos. We appreciate your support and for a more hands-on experience, you can download the presentation from the following link.
Happy learning and presenting! 🚀📊

