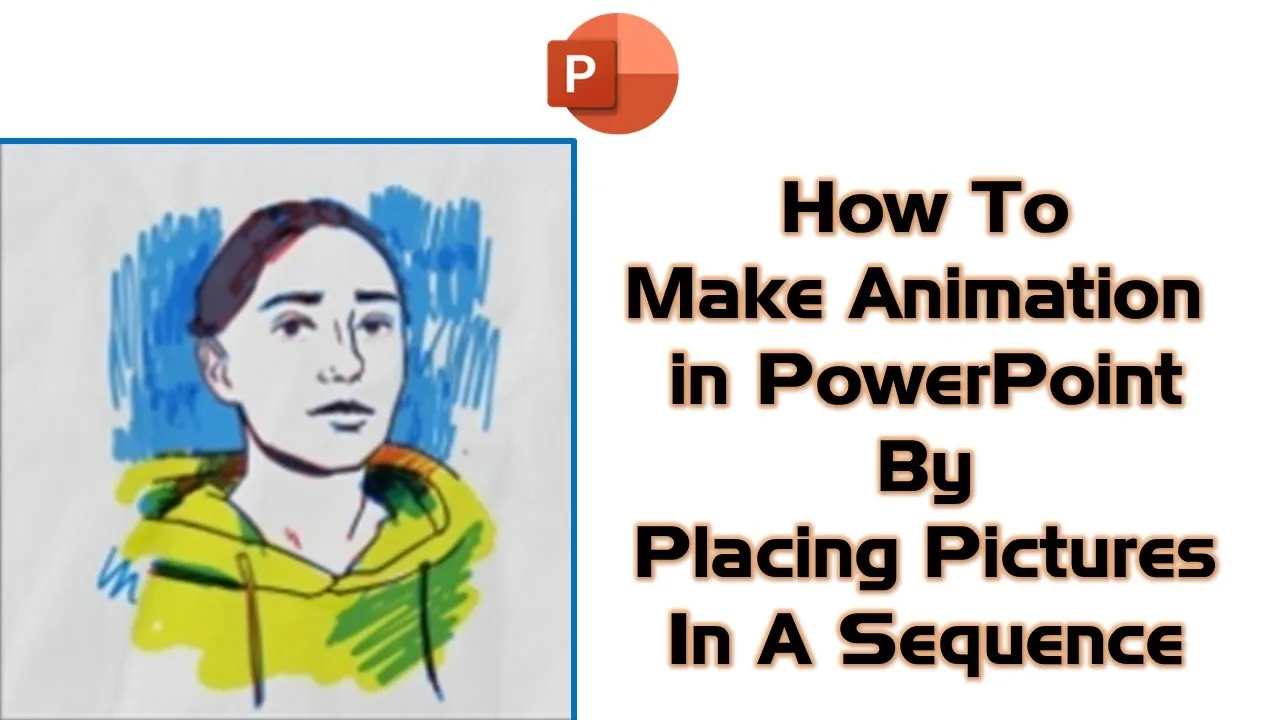
PowerPoint, often associated with business presentations, can be a surprisingly versatile tool for creative endeavors as well. In this tutorial, we will show you how to use PowerPoint to create a 2D animation inspired by the work of Brook Wells. The best part? You don’t need any specialized animation software; PowerPoint has got you covered.
Key Steps:
Let’s break down the key steps to create a captivating 2D animation in PowerPoint:
- Starting with a Blank Presentation: Begin by opening a blank presentation in PowerPoint. This provides you with a clean canvas to work on.
- Inserting the Base Image: You have two options for this step. You can either right-click on the image in the video tutorial and choose “Copy Image,” then paste it into PowerPoint, or you can save the image to your desired location and then insert it into your presentation.
- Creating Separate Slides: Now, the magic begins. To create the animation sequence, you need to separate each of the picture poses onto individual slides. This means you’ll need 12 slides in total, each with a different pose. Here’s how you do it:
- Select the image and click on the “Crop” command from the Picture Format tab.
- Adjust the crop window to contain only the picture pose.
- Resize the picture to around six inches in height.
- Ensure the picture is centered on the slide.
- Repeat for All Poses: The animation will consist of 12 different poses, so you’ll need to repeat the above step for each of them. Make sure you have a slide for each pose.
- Creating Reverse Order Slides: The animation plays in both ascending and descending order. To achieve this, create duplicate slides in reverse order. For example, duplicate slide 11 and place it below as the 13th slide. Repeat this for all the slides, except for slides 1 and 12. This will give you a total of 22 slides.
- Setting Slide Transitions: Select all the slides, uncheck “On Mouse Click,” and set a specific time duration for each slide. In the video tutorial, they used 0.10 seconds per slide to control the animation speed.
- Creating a Loop: To make the animation seamless, go to the Slideshow tab, click on “Setup Slideshow,” and check “Loop continuously until the Escape key is pressed.” This ensures the animation plays in a continuous loop.
- Run the Slideshow: Finally, run the slideshow, and you’ll see your 2D animation come to life. The different poses will play in sequence, creating an engaging animation.
Conclusion:
And there you have it! You’ve successfully created a 2D animation using PowerPoint, all without the need for specialized animation software. This tutorial is a great way to add a unique touch to your presentations or simply explore your creative side.
Remember to watch the video tutorial for a visual guide, and don’t hesitate to share your feedback and subscribe to our channel for more exciting tutorials.
If you found this tutorial helpful, please like, share, and comment on this post. Stay tuned for more informative and creative tutorials. Thank you for watching!
You can now use this content in your WordPress post, and be sure to embed the video tutorial as mentioned in the introduction. This structured post should help you rank higher and provide your audience with a clear and informative guide to creating 2D animations in PowerPoint.

