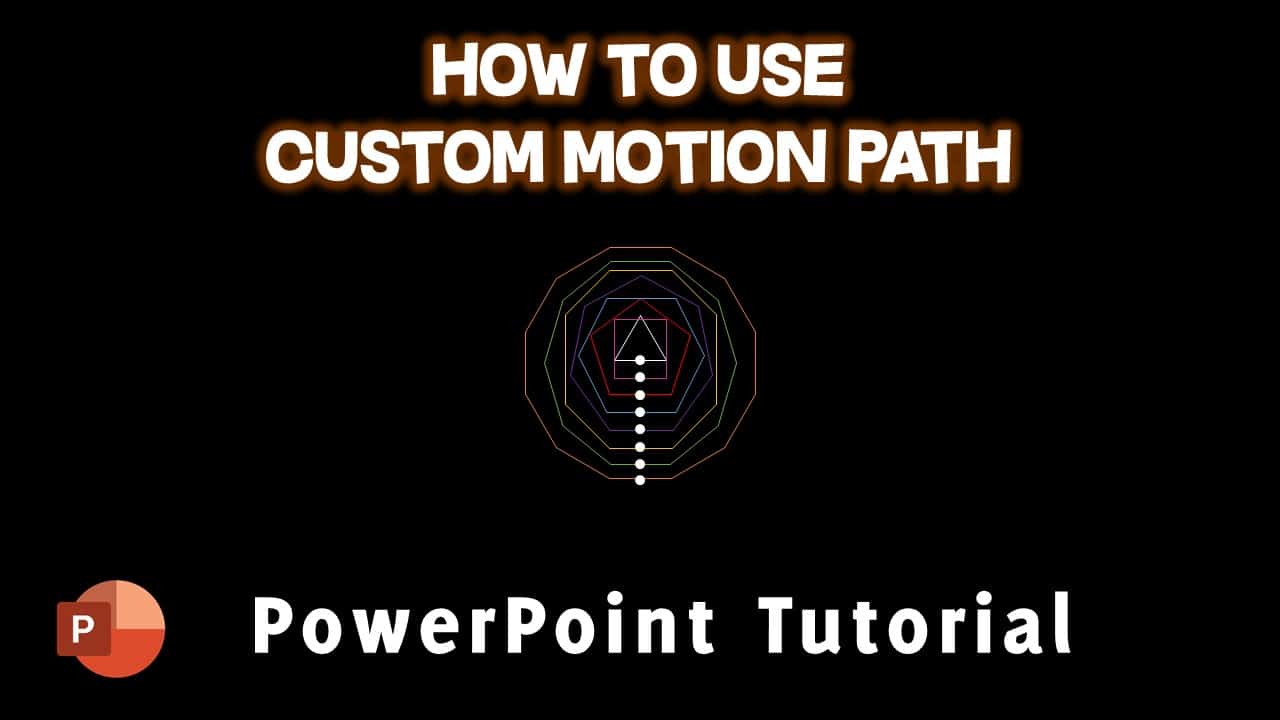
Today we’re diving into the fascinating world of Custom Motion Path animations in PowerPoint. In this tutorial, we’ll be creating a captivating animation using custom motion paths. I’ve discovered a unique animation on Reddit, and I thought, why not bring it to life in PowerPoint? Today, I’ll guide you through the process step by step, so buckle up and let’s get started!
The Concept: Dots in Motion
The animation we’re creating involves dots moving around the screen, converging at specific points to create a visually stunning effect. While the original animation had 13 dots, we’ll be working with 8, though you can always add more according to your preference.
Setting Up Your PowerPoint Presentation
- Create a New Presentation:
Open PowerPoint and create a new presentation. Select a blank layout for a clean canvas to work on. - Insert and Customize Shapes:
- Insert shapes like triangles, rectangles, and ovals to represent the dots.
- Customize the shapes by adjusting their fill colors, outline colors, and sizes.
Applying Custom Motion Paths
- Understanding Motion Paths in PowerPoint:
- Navigate to the Animation tab.
- Select the “Add Animation” dropdown and choose “More Motion Paths.”
- Apply motion paths like the triangle motion path to the shapes.
- Adjusting Motion Paths:
- Encounter and understand the challenge of adjusting starting points in PowerPoint 2016.
- Introduce the “locked” option in effect options to keep motion paths and objects in sync.
Overcoming PowerPoint Limitations
- The Custom Motion Path Workaround:
- Introduce the custom motion path as a solution to overcome PowerPoint 2016 limitations.
- Demonstrate how to draw a custom path, defining the starting point for each dot’s animation.
- Creating a Seamless Animation:
- Apply the custom motion path to multiple shapes.
- Emphasize the importance of setting animation timings for synchronization.
Showcasing the Final Animation
- Previewing Your Masterpiece:
- Display the completed animation, showcasing how dots move and converge at specific points.
- Discuss the importance of timing to create a seamless flow.
Watch the Tutorial for Visual Guidance
To truly grasp the intricacies of custom motion paths, watch the full tutorial on “The Teacher” YouTube channel. Rajiv takes you through each step, providing visual representation and detailed explanations.
Watch How To Use Custom Motion Path in PowerPoint Tutorial
Conclusion: Mastering Animation in PowerPoint
Creating captivating animations in PowerPoint requires a bit of creativity and a workaround for certain limitations. By mastering custom motion paths, you can bring your presentations to life in ways you never imagined. Don’t forget to share your creations and let us know what you think of this tutorial. Happy animating!
[Music]
That’s a wrap for today’s tutorial. If you found this helpful, hit the like button, leave a comment, and share with your friends. Stay tuned for more exciting tutorials on “The Teacher.” Thanks for watching, and take care!
The article How To Use Custom Motion Path PowerPoint Tutorial is under process. Meanwhile, you can download the presentation and can watch the video tutorial.
Download Custom Motion Path PowerPoint PPT
PPT Info.
PowerPoint Template
Character Animation
File Type: PPT / PPTX
File Size: 40.3KB
Number of Slides: 1
Download CUSTOM MOTION PATH ANIMATION POWERPOINT TEMPLATE
DON’T FORGET TO LEAVE A RESPONSE.

