Introduction
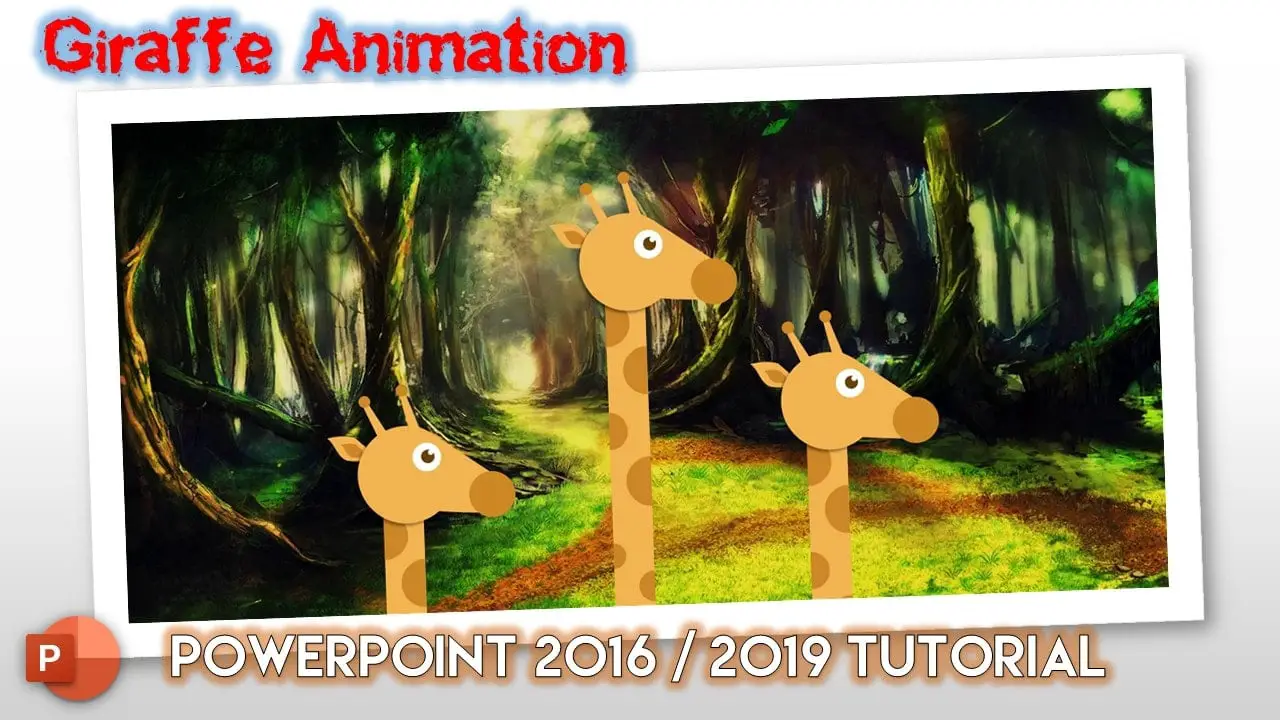
Giraffe Animation in PowerPoint: To make this article easy to read for Beginners, I will talk about the animations applied to one of the three Giraffes shown in the PowerPoint presentation attached below. The only difference between each of the Giraffe animations is in their Delay Timings.
Turn On Volume
See Figure 1.1, where you can see exactly the same animations have been applied to Giraffe 2 and Giraffe 3 as they are to Giraffe 1.
Use Animation and Selection Panes
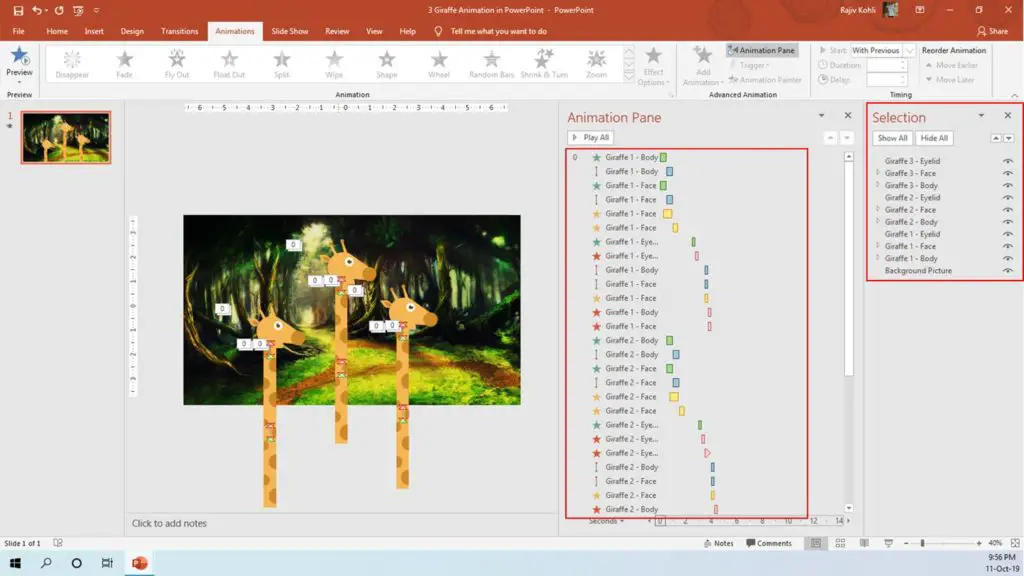
There is a very short Delay Timing difference between each of the Giraffe’s movements. To make it short, after accomplishing the Graphic Designing and animation process of one Giraffe, you can make duplicates and then change the Delay Timing between their animations. You can open the Animation and Selection Panes to note down the difference between the Delay Timings of each Giraffe movement.
Animations Effects Applied To Giraffe
- Giraffe Body is Flying In from the Bottom with a Duration of 0.50 Seconds and 0 Delay Timings, without Smoothness, and No Auto Reverse.
- A very short Down Motion Path has been applied to the Body. When you apply the Fly-In animation then the stop position of this animation will always exactly be the object position on the slide. After Flying In from the bottom, the object will stop at the location where you had placed the object on the slide. So, the Short Down Motion with Auto Reverse is used to move the body again a bit Down and Back to create a shock kind of effect where the body is settling itself because of the speed.

- Then you can take the help of Animation Painter to replicate the same effects on the Face. Now, the Body and Face both will pop in from the bottom; they will stop at a fixed position but then will move a bit down and back to the same fixed position.
- Then the Face will Spin 2 times having different Rotation degrees. Body and Face could be grouped together and we could apply only 2 animations to bring them from the bottom but as the Face is going to Spin later. So, if grouped with Body then the Body will also move along with the Face. That is the reason that we always need to draw objects separately if they have different animations.
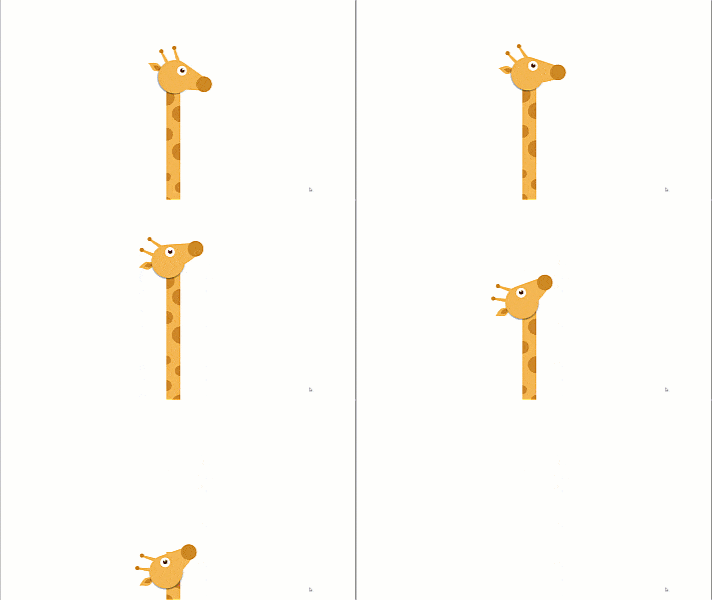
- The first spin is at 35 Degree Counterclockwise with Auto Reverse. That means the Face will spin and will then reverse back to the same position but then again applied the second Spin effect with a short Duration of 0.20 Seconds and Delay Timings of 1 Second, to create a shock-like animation for the Face as we did for the Body. See Figure 1.2.
Tip: Objects having an Entrance effect will Appear only after reaching the defined Delay Timings.
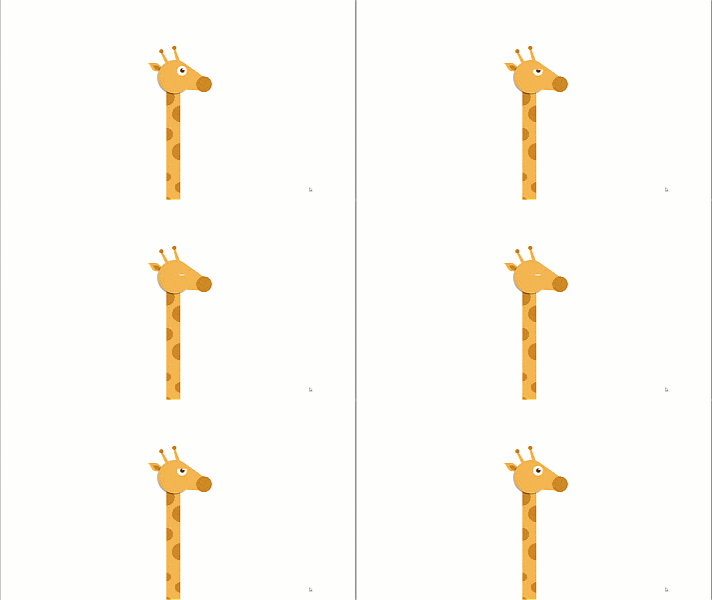
- The Eyelid appears at a Delay Timing of 2.50 Seconds through the Wipe Entrance effect from the Top with a short Duration of 0.25 Seconds. Before 2.50 Seconds, you will not see the Eyelid on the slide. That is the default behavior of any Entrance effect. See Figure 1.3.

- To move the Giraffe back to the bottom, we used similar Exit Effects. Like, to hide the Eyelid, we used the Wipe Exit effect from the Bottom.
- To move the Body and Face out of the screen, we are again using Motion Paths, Spin, and Fly Out Exit effects.

Later, you can create more duplicates and can adjust the Delay Timings of the effects to make the 2nd and 3rd Giraffes appear after a short delay.
I hope you got The Teacher Point.
Watch Giraffe Animation in PowerPoint Tutorial
The article How To Giraffe Animation also applies to the following versions:
- PowerPoint 2007
- PowerPoint 2010
- PowerPoint 2013
- PowerPoint 2016
- PowerPoint 2019


