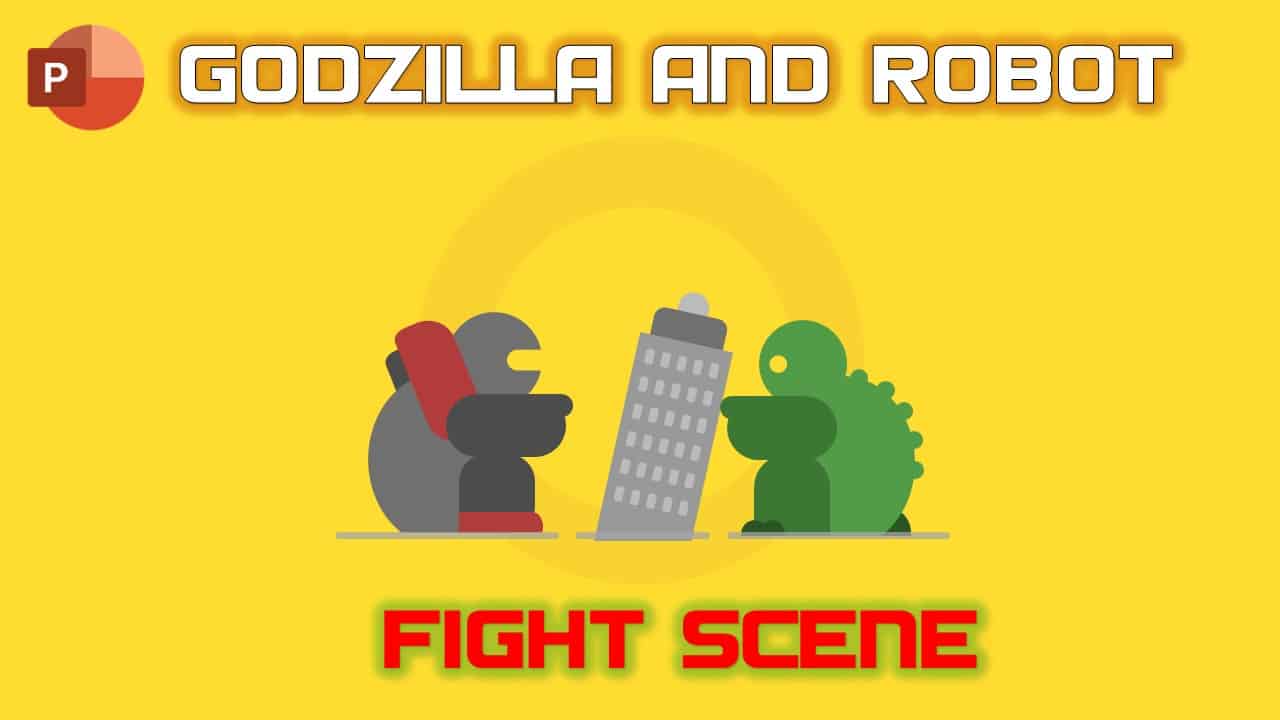
PowerPoint, a versatile tool for presentations, can also be used for creating 2D animations. In this tutorial, we’ll walk you through the process of crafting a thrilling Godzilla vs. Robot fight scene using PowerPoint 2016. Inspired by the work of “Sujit K. Patel,” we’ll show you how to animate characters like Godzilla and a robot in a battle scenario. While the process may seem complex, we’ll break it down into easy-to-follow steps, with detailed instructions and screenshots to guide you along the way.
Step 1: Prepare Your Objects
To begin, you need to draw the objects that will be animated. In our case, we have Godzilla and the robot. These characters are composed of several individual parts, which you can see in the selection panel. For ease of animation, make sure to ungroup and organize these objects using PowerPoint’s Format tab.

Step 2: Animate Godzilla’s Hand
- Select the Godzilla hand.
- Go to the Animation tab and choose “Add Animation,” then “More Motion Paths.”
- Select the “Left” motion path.
- Adjust the path’s length, holding Shift to keep it straight.
- Configure the animation with “Smoothness” for the start and set a “Start Smooth” value (e.g., 0.33).
- Set the animation to “Auto-reverse” and repeat until the end of the slide.
Step 3: Animate Godzilla’s Head
- Select Godzilla’s head.
- Apply a “Down Motion Path” animation.
- Adjust the path and length as needed.
- Configure the animation with “Smoothness” for both start and end.
- Set it to “Auto-reverse” and repeat until the end of the slide.
Step 4: Animate the Robot
- To animate the robot’s head, use the Animation Painter tool to replicate the same animation as Godzilla’s head.
- Adjust the delay timing to make it move after one second.
- For the robot’s hand, apply a “Right” motion path and adjust the path and length as required.
- Configure the animation with “Smoothness” for the start, “Start Smooth” at 0.33, and set it to “Auto-reverse.”
- Add a delay of one second for the robot’s hand animation.
Step 5: Spin the Building
- Use the “Spin” effect to animate the building.
- Set it to “Play With Previous” with a duration of 1 second and a delay of 0.25 seconds.
- Adjust the rotation degree, in our case, 28 degrees counterclockwise.
- Enable “Auto-reverse” and repeat until the end of the slide.
Step 6: Add a Holographic Effect
- To create a holographic effect, duplicate the slide.
- Remove all the objects on the duplicated slide.
- Save this slide as an image (JPG).
- Reinsert this image into the original slide, positioning it to cover the bottom part of the building. This creates the illusion of a hologram.

Conclusion
Creating complex animations in PowerPoint may seem daunting, but with the right techniques, you can achieve stunning results. In this tutorial, we showed you how to animate a Godzilla vs. robot fight scene using PowerPoint 2016. By breaking down the process into manageable steps and paying attention to animation details, you can create impressive 2D animations right in PowerPoint.
Experiment with different animations and characters to bring your PowerPoint presentations to life. We hope you found this tutorial useful and inspiring for your own creative projects. If you have any questions or feedback, feel free to leave a comment below. Don’t forget to hit the like button if you enjoyed this tutorial.
Watch Godzilla Robot Fight Animation in PowerPoint Tutorial
The article also applies to the following versions:
- PowerPoint 2007
- PowerPoint 2010
- PowerPoint 2013
- PowerPoint 2016
- PowerPoint 2019
- Microsoft 365
Download Godzilla Robot Animation PowerPoint PPT
PPT Info.
PowerPoint Template
Godzilla Robot Fight Animation
File Type: PPT / PPTX
File Size: 64KB
Number of Slides: 1
Download GODZILLA ROBOT ANIMATION POWERPOINT TEMPLATE
DON’T FORGET TO LEAVE A RESPONSE.


