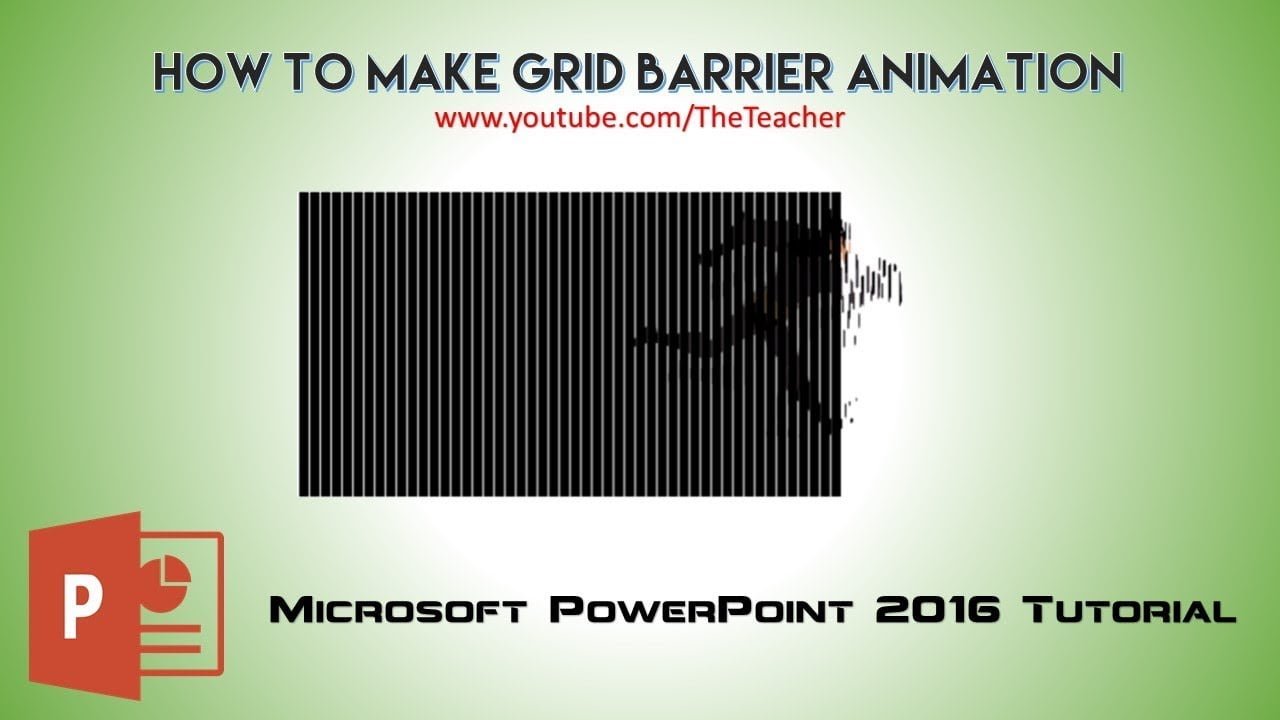
Greetings, fellow presentation enthusiasts! 🚀 Today, we embark on a journey into the world of PowerPoint magic, where static images transform into dynamic, eye-catching animations. Join us as Rajiv Kohli, the maestro of PowerPoint animations, unveils the secrets behind creating a mesmerizing Grid Barrier Animation in PowerPoint 2016.
PowerPoint presentations are an art form, and with the right techniques, you can elevate your slides to captivate any audience. In this tutorial, we’ll dive into the step-by-step process of turning an ordinary image into a stunning grid barrier animation that adds a touch of flair to your presentations.
Step 1: Selecting the Animated Image:
The first key to a successful grid barrier animation is choosing the right animated image. Rajiv recommends finding a gif of a character in motion, preferably with a white background. This sets the stage for a clean and seamless animation.
Step 2: Separating Gif Frames:
Once you’ve got your animated gif, the next step is to separate its frames. Rajiv demonstrates using EasyGif, an online tool that effortlessly splits the gif into individual frames. Download these frames as separate images to pave the way for the animation process.
Step 3: Choosing Animation Software:
To bring these frames to life, Rajiv suggests using Animizer, a powerful animation tool. He guides you through the process of loading the frames, computing the animation, and saving the base image and mask, essential elements for the grid barrier effect.
Step 4: Inserting Images into PowerPoint:
With the base image and mask in hand, it’s time to import them into PowerPoint. Rajiv demonstrates the proper placement and alignment to set the stage for the animation.
Step 5: Applying Motion Path Animation:
The magic happens with PowerPoint’s motion path animation. Rajiv walks you through selecting the right motion path, adjusting the length, and setting the animation to play seamlessly with your presentation.
Step 6: Adjusting Image Transparency:
One minor tweak ensures your animation is flawless. Rajiv addresses the issue of a white background in the vertical lines, guiding you on how to use PowerPoint’s transparency feature to create a polished finish.
Final Touches and Slide Show:
As a finishing touch, Rajiv advises on turning off smoothness in animation settings. The tutorial concludes with a preview of the final grid barrier animation, showcasing the potential of your newfound PowerPoint superpowers.
Before you dive into creating your own grid barrier animation, watch Rajiv’s tutorial for a visual walkthrough of each step.
Download Presentation File:
Ready to put your skills to the test? Download the presentation file Rajiv used in the tutorial and explore the intricacies of the animation at your own pace.
Conclusion:
With the power of grid barrier animation in your hands, your presentations are bound to leave a lasting impression. Explore the possibilities, get creative, and take your PowerPoint game to new heights. Happy animating!
Happy presenting!
Rajiv Kohli 🌟
The article How To Make Grid Barrier Animation is under construction. Meanwhile, you can download the presentation and watch our video tutorial.
Watch Grid Barrier Animation in PowerPoint Tutorial Video
Download Grid Barrier Animation PowerPoint PPT
PPT Info.
PowerPoint Template
Character Animation
File Type: ZIP (Contains 3 PPTs and Pictures)
File Size: 273KB
Download GRID BARRIER ANIMATION POWERPOINT TEMPLATE
DON’T FORGET TO LEAVE A RESPONSE.

