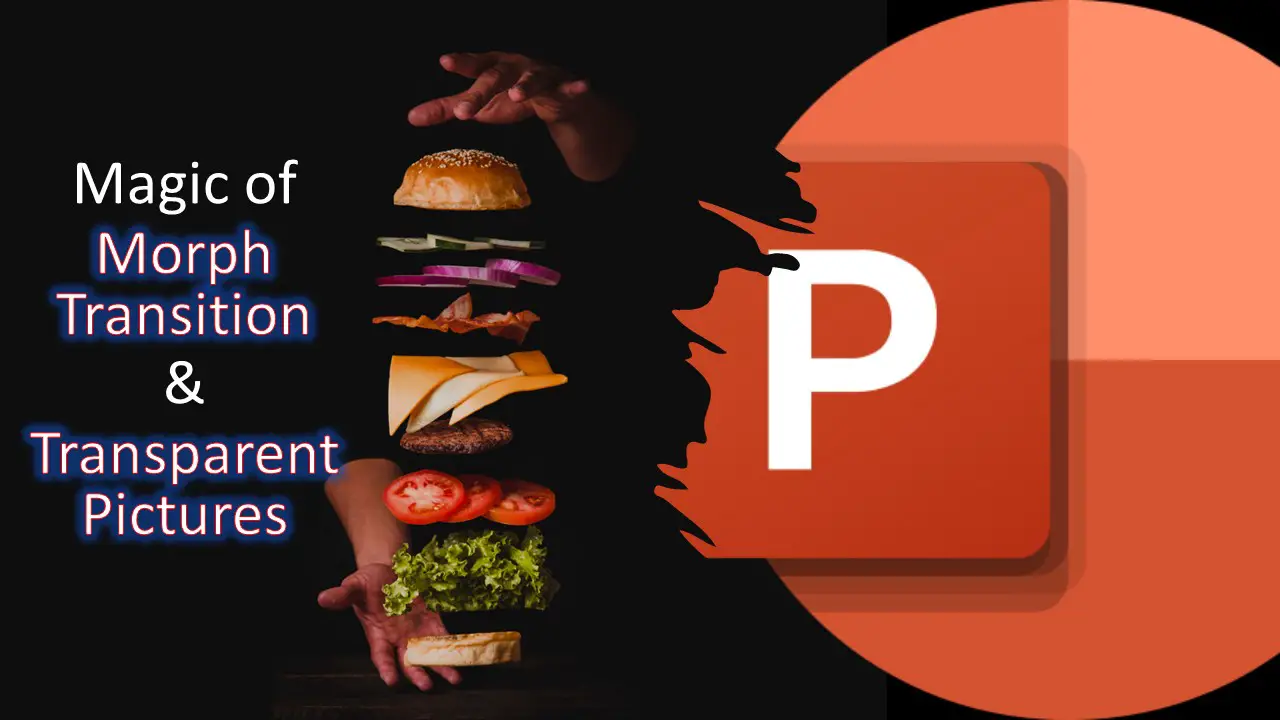
Today, we embark on a creative journey into the fascinating world of animations, focusing on the magic of Morph Transition PowerPoint paired with transparent pictures in PowerPoint. Inspired by the incredible work of Tom Miller, we’ll guide you step by step through the process of crafting visually striking presentations.
A Grateful Acknowledgment
Before we dive into the tutorial, we want to extend our heartfelt gratitude to our Patreon community. Your continuous support on Patreon fuels our passion for knowledge-sharing, enabling us to explore new heights in educational content creation. Thank you for being an integral part of this educational adventure!
Inspiration from Tom Miller’s Masterpiece
Our tutorial draws inspiration from Tom Miller’s animation titled “Just about time for lunch..” on codepen.io. Tom generously shared the links to the transparent PNG files he used, allowing us to explore and save them for educational purposes. Feel free to follow along with the tutorial or unleash your creativity by using your own set of transparent pictures.
Let’s Get Started
To understand the concepts in-depth and for a more visual representation, we highly recommend watching the video tutorial. Click the image above to immerse yourself in the step-by-step guidance and visual demonstrations.
Download the Presentation File
For those eager to get hands-on experience, we’ve prepared a downloadable presentation file that complements the tutorial. Click here to download the PowerPoint file and follow along with the tutorial at your own pace.
A Sneak Peek into the Tutorial
1. PowerPoint Setup:
- Begin with a Blank Presentation.
- Insert pictures from your saved folder using the Pictures drop-down.
2. Dealing with Non-Transparent Backgrounds:
- Use the Free Form shape tool or choose different transparent images to handle non-transparent backgrounds.
3. Finessing the Details:
- Utilize the Selection Pane for resizing, aligning, and arranging images.
- Play with layer arrangement for a seamless visual flow.
4. Handling Black Backgrounds:
- Fill the background with a matching color for transparency.
5. Applying Morph Transition:
- Preview your creation in Slideshow mode for a full-screen experience.
- Apply Morph Transition from the Transitions tab with a smooth 3-second duration.
- Duplicate slides for replication and tweak positions for a captivating animation sequence.
Conclusion
We hope this tutorial sparks your creative flame and inspires you to explore the endless possibilities of animations in PowerPoint. Subscribe to our YouTube channel for more enlightening content, and remember, the only limit is your imagination.
Happy creating, and see you in the next tutorial!

