
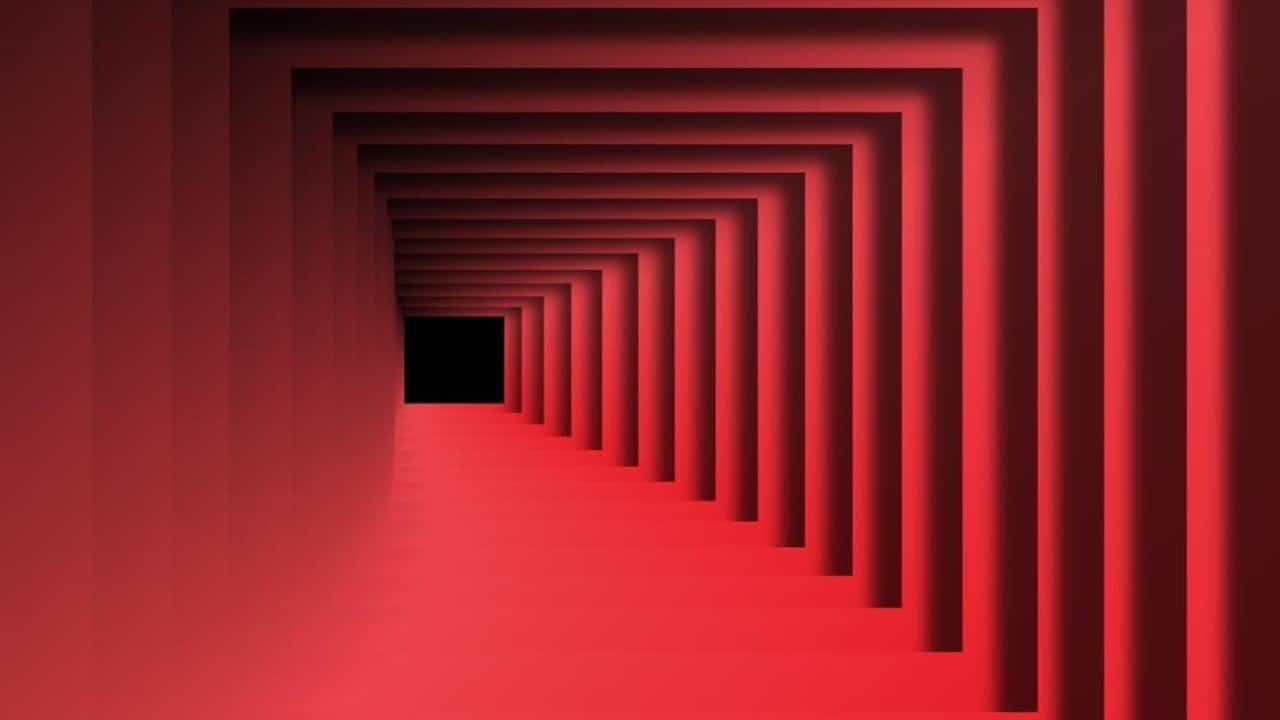
Making this Optical illusion Animated Background in Microsoft PowerPoint could be the easiest animation you may have ever done. Only Left and Right Motion Paths, a total of 2 animations have been used and the same animations have been replicated on the rest of the objects on the slide using Animation Painter and Selection Pane.
How To Draw and Format the Frame Shape in PowerPoint?
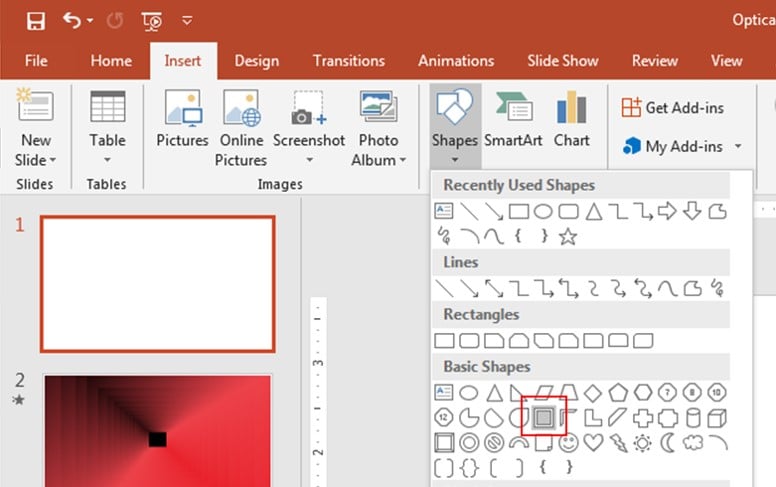
- Click on the Insert tab – click the Shapes drop-down menu – and select Frame from the Basic Shapes section. The first Frame shape size will be smaller than all other frames that we will replicate later.
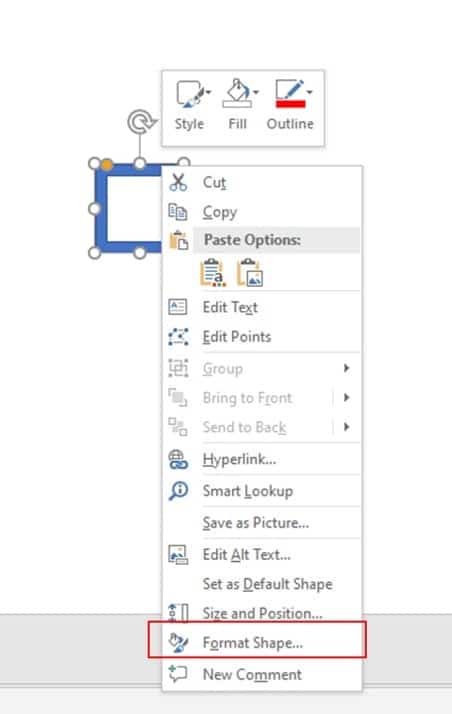
- After drawing the first Frame shape, apply the Formatting options. Right-click on the shape and choose Format Shape from the Context Menu.
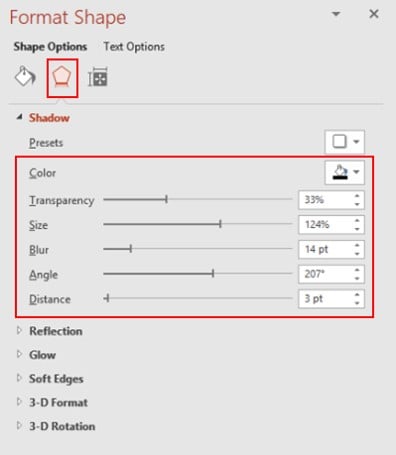
- You can either apply the following Formatting properties from the Format Shape pane under Shape Options – Fill color settings or can choose your own:
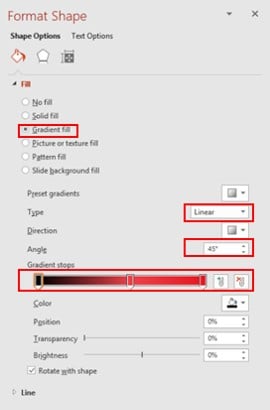
- Set No Line – For Line Colors and use the following settings for Shadow from Format Shape Pane:
Optical Illusion Animation Effects
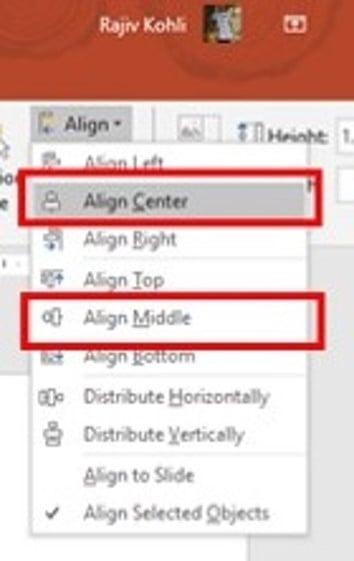
Once you have your first Frame, Align it to the Center and Middle of the Slide by selecting the Shape and then from the Format tab – click Align drop-down button, then first choose Align Center and again Align Middle.
- First, we will apply the Left Motion Path to this first Frame Shape and then we will make more duplicates of the same. Using this method will save you time as all the duplicated shapes will have the same animations and later you only need to change the Delay Timings of the animations.
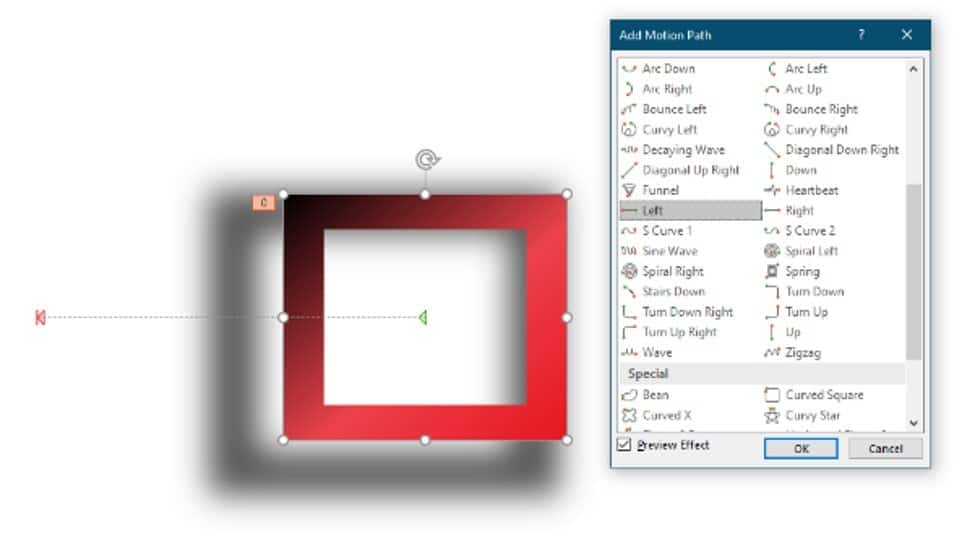
- Note down the length of the Motion Path. The default length will be larger and in this illustration, I am setting a length of about 2 inches which you can notice through a Red Line in the Ruler.
Indicating the length of the Motion Path
- Set the other Animation Properties through the Effect Options window by double-clicking on the motion path effect in the Animation Pane.
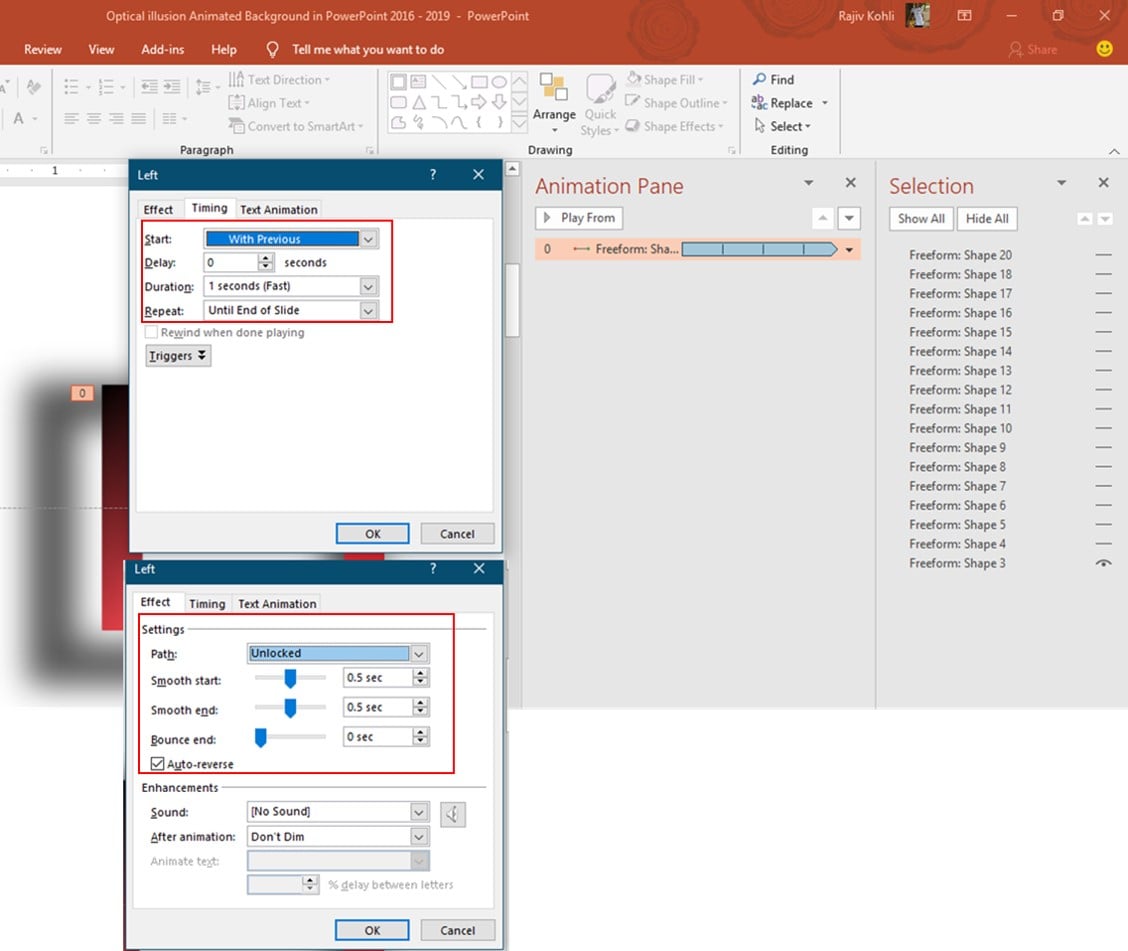
- The Timing settings of this effect are: Start – With Previous, with 0 Delay Timings, 1 Second Duration, and Repeating Until End of the Slide.
- The Effect settings are Path-Unlocked, Default smoothness of 0.50 seconds for both Start and End, No Bounce, and with Auto Reverse. The total duration of this animation effect now will be 2 seconds because of the Auto Reverse. 1 Second to move 2 inches to the left and 1 second to reverse back to the same position.
- Now, it is time to duplicate the same Shape and I am using a total of 17 Frames. To make the first duplicate, select the first Frame shape and press CTRL+D or use Copy and Paste command. Then align it on top of the previous by again using the above-said Alignment Options and then increase the size. You can hold down the CTRL+SHIFT+ALT keys while increasing the shape size. That way, the size will get proportionally from all sides.

On top of the first frame
You can read more about How to Use Animation Painter to quickly replicate the same animation on rest of the objects.
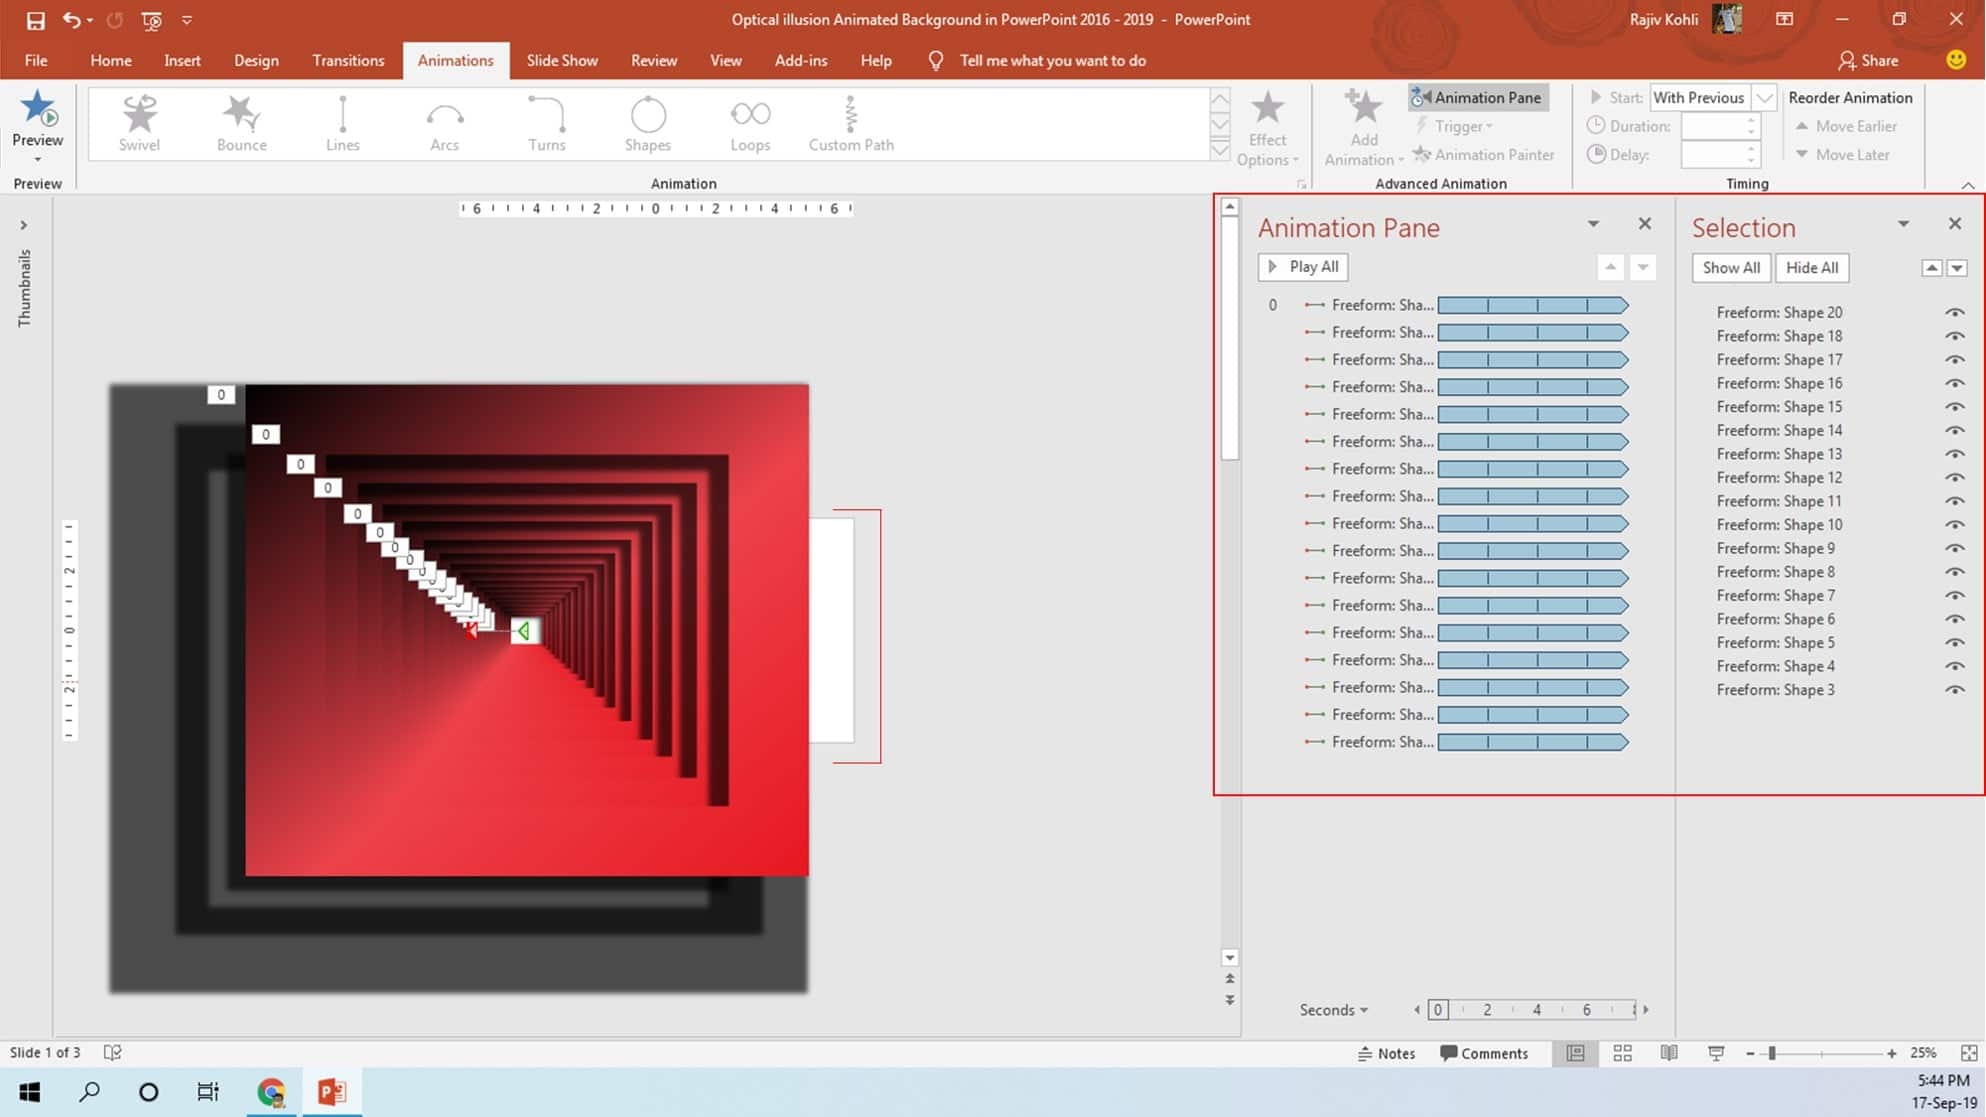
- Repeat the above steps to create more duplicates and then your slide will look like this:
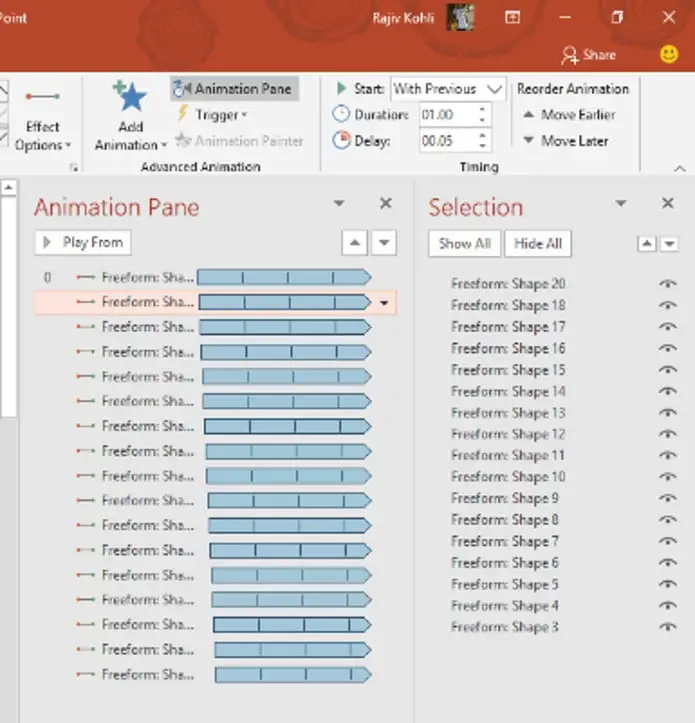
- Finally, add the Delay Timings of 0.05 seconds to the second animation effect, 0.10 to the 3rd frame, 0.15 to the 4th, and so on and your Animation Pane will look like this.
- Click the Slideshow button and there the results are:
To make this animation more eye-catching, you can experiment by applying more than one animation to the first frame shape.
I hope you got The Teacher Point.
Watch Optical Illusion Animated Background in PowerPoint Tutorial
The article How To Make Optical Illusion Animated Loader also applies to the following versions:
- PowerPoint 2007
- PowerPoint 2010
- PowerPoint 2013
- PowerPoint 2016
- PowerPoint 2019