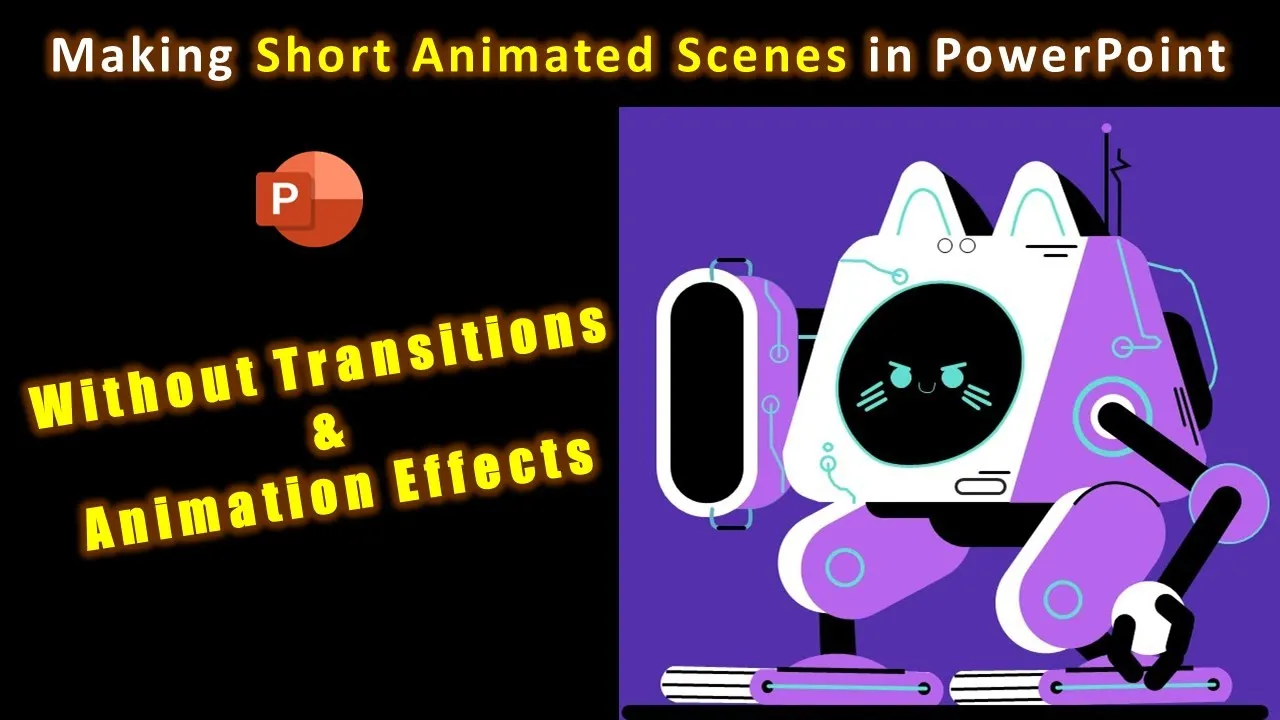
PowerPoint is not just a tool for creating presentations; it can also be a platform for creating simple animations and short scenes. In this tutorial, we will guide you through the process of creating a smooth RoboCat animation using only the Morph transition in PowerPoint. You won’t need any complex animation effects – just your creativity and attention to detail.
[Screenshot Placeholder – RoboCat Animation]
Preparing Your Presentation
Before you dive into animation, you need to set up your presentation. In this section, we will show you how to prepare your slides.
Step 1: Draw Your Character
Start by drawing your character. In this tutorial, we’re using a RoboCat as an example. Pay close attention to the position of each shape layer, whether they are part of a group or single shapes.
Step 2: Organize Shape Layers
In the colored view of your presentation, use the Selection Pane to organize shape layers. Make sure that the layers are stacked properly. For instance, in the RoboCat animation, the right hand is behind the gun and on top of the antenna. This organization is crucial for smooth animations.
Step 3: Duplicate Slides
Once your character is ready, duplicate the slides. You can right-click in the Thumbnail View and select “Duplicate Slide.” You’ll be working on these duplicate slides to create the animation.
Creating the Animation
Now that your presentation is set up, let’s create the animation.
Step 4: Adjust Object Positions
On the duplicated slides, start adjusting the positions of the objects you want to move. For example, you can move the gun and the hand and rotate them as needed. Remember that some objects may be part of a grouped object. You can click on the specific shape layer within a group to make adjustments.
Step 5: Create More Poses
Repeat the process to create more poses for your character. Duplicate the slides, and on each new slide, make adjustments to different parts of the character. For instance, you can move the gun, ears, and eyes. This will give the illusion of motion when played sequentially.
Timing and Transitions
Now, let’s set the timing for your animation.
Step 6: Adjust Slide Timings
The secret to smooth animations in PowerPoint is setting a short time duration. In this example, we’re using 0.01 seconds for each slide. This means all the slides play within 0.20 seconds. This mimics the concept of frames in traditional animation.
Step 7: No Transitions
For this specific animation, we’re not using any transitions between slides. You can achieve this by selecting all the slides in the Thumbnail View, setting the transition to “None,” and adjusting advanced timing options. Uncheck “On Mouse Click” and instead check “After,” applying a show duration of 0.01 seconds to each slide.
Viewing the Animation
With your presentation set up and the animation in place, it’s time to view your creation.
Step 8: Mute Background Music
If you have added background music, consider muting it for a smoother viewing experience. You can use the Selection Pane to hide media files.
Step 9: Play the Slideshow
Now, play the slideshow. You’ll see your character coming to life, moving from one pose to another. This technique can be used to create short animated scenes without the need for complex animation effects or transitions.
Conclusion:
In this tutorial, we’ve shown you how to create a smooth RoboCat animation using only PowerPoint’s Morph transition. By carefully organizing shape layers, adjusting positions, and setting short slide timings, you can bring your characters to life in your presentations.
With a bit of creativity and attention to detail, you can use this method to create your animations and make your PowerPoint presentations more engaging. Try it out, and don’t forget to share your creations with us!

