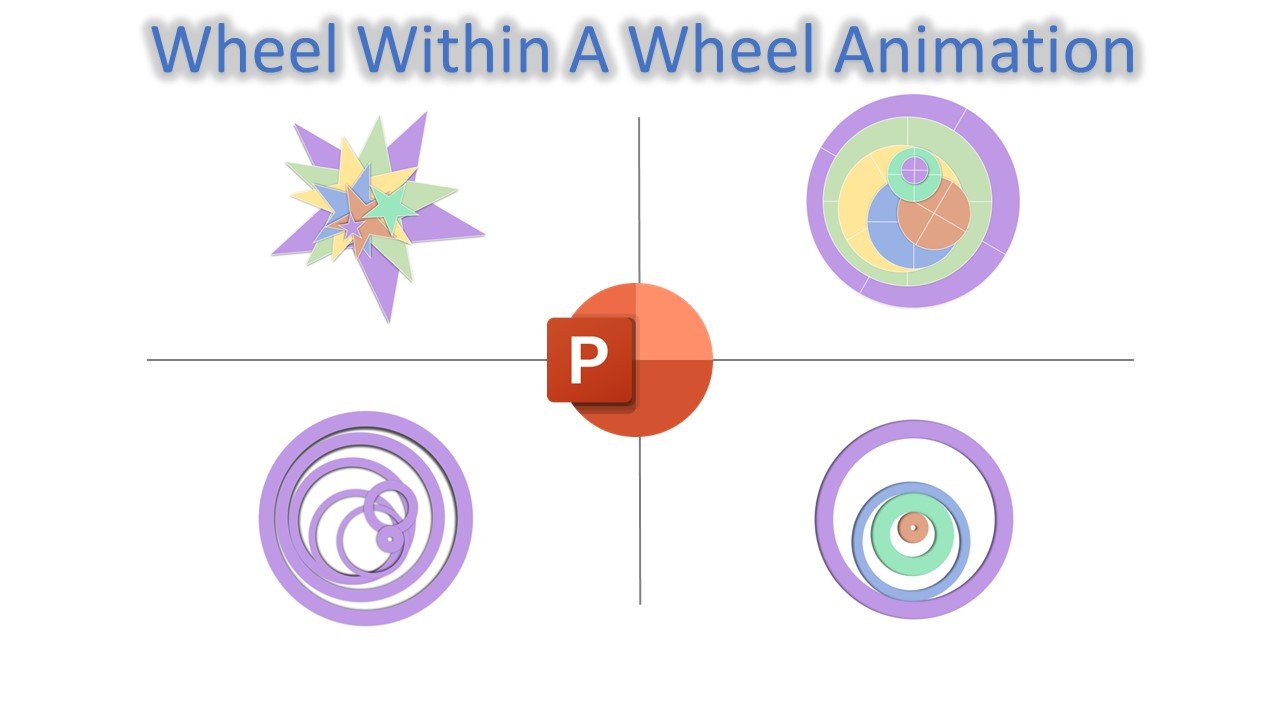
Today, we’re delving into the mesmerizing world of the Wheel Within A Wheel animation, inspired by the incredible work of Amit at codepen.io. If you’re ready to add a touch of magic to your presentations, you’re in for a treat.
Video Tutorial: The Wheel Within A Wheel Animation in PowerPoint
Understanding the Concept
Imagine a presentation where wheels within wheels come to life, creating a visually stunning effect. This animation technique involves strategically placing and animating grouped objects to give the illusion of wheels spinning within one another.
To grasp this concept more vividly, let’s break it down step by step.
Step 1: Opening the Presentation
Start by downloading the presentation file from our website. Download Presentation File
After opening the presentation, the key is to explore the Selection Pane. This backstage view allows you to inspect both visible and invisible objects, unveiling their relative positions on the slide.
Step 2: Exploring Grouped Objects
In the Selection Pane, observe three grouped objects. However, on the slide, you’ll discover four Hollow Shapes, each progressively smaller, creating a captivating wheel within a wheel appearance.
- Group 1: The largest wheel containing a smaller wheel within. Expand Group 1 to reveal two hollow shapes, one larger and one smaller.
- Group 2: Even though it appears as a single object, expand Group 2 to discover a subgroup with the same Bigger and Smaller Wheels as Group 1, plus a third Smallest Wheel cleverly hidden with the No Fill and No Outline trick.
- Group 3: Expand this group to find two sub-groups with the familiar wheels, including a tiny last wheel visible on the slide.
Step 3: Animation Magic
Head to the Animation Pane, and there it is—the Spin animation magic applied to all three groups. A 360-Degree Counterclockwise rotation, 4 seconds of pure animation bliss, and Repeat Until End of Slide for that extra flair.
Step 4: Witness the Spectacle
Toggle the visibility of the groups in the Selection Pane and witness the synchronized dance of four wheels. Each smaller wheel twirls at the edges of its predecessor, creating a visually stunning effect.
The Visual Experience
For a more immersive understanding, watch the video tutorial where “The Teacher” guides you through the entire process. Click on the video thumbnail above to embark on this visual journey.
Your Thoughts Matter!
We’re eager to hear your thoughts on this mind-bending animation idea. Did you find it engaging? Have you tried it in your presentations? Share your experiences and insights in the comments below.
Don’t forget to like, share, and subscribe to “The Teacher” for more exciting tutorials. We appreciate your time, and until next time, take care and happy presenting!
By “The Teacher” Team

